HelpClose Window
Use the buttons below to navigate through the tutorial

Use the slide markers to jump between steps

Use the buttons below to navigate through the tutorial

Use the slide markers to jump between steps

Interlink Express - Create Shipment
This tutorial will show you how to create a shipment
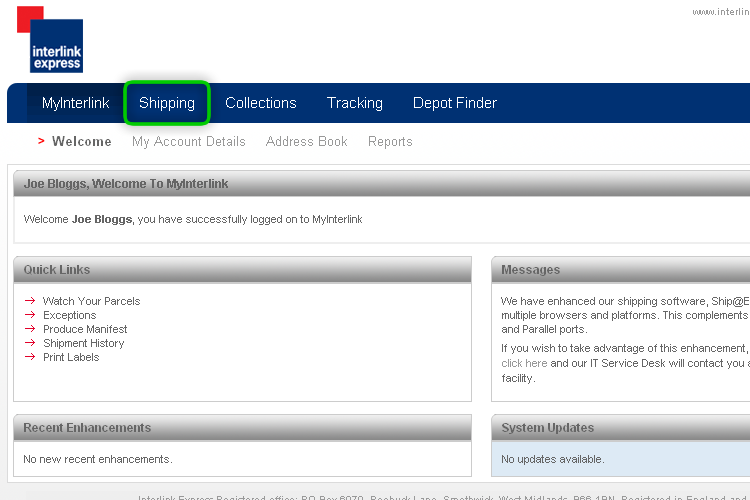
Step 1
Click on the 'Shipping' tab as highlighted to begin the process.
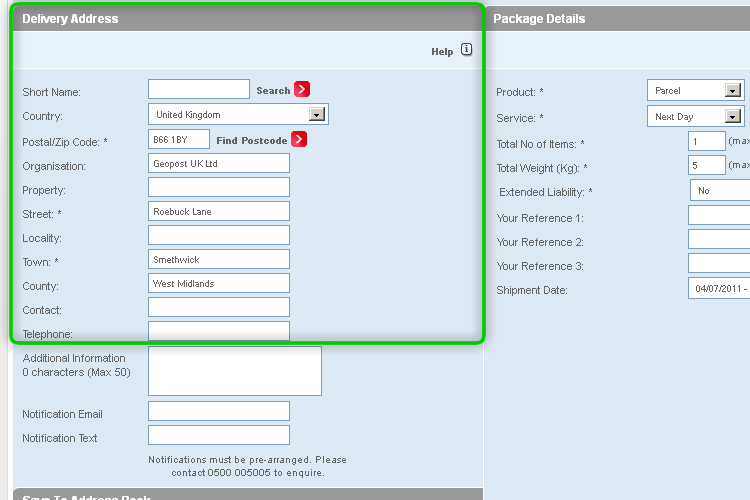
Step 2
Begin creating a shipment by entering the delivery address.
The address can be found automatically by entering the delivery post code into the post code field.
Complete all necessary fields as appropriate.
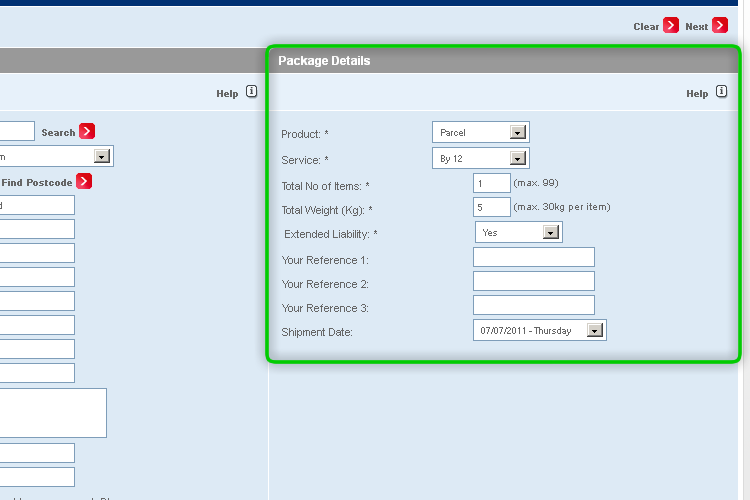
Step 3
Select a product type and service from the drop down lists provided.
Next enter the number of items you have and the total weight of all items.
Select whether you would like extended liability on your shipment.
You can select an alternative date for shipment if suitable. You can arrange a collection up to five days in advance.
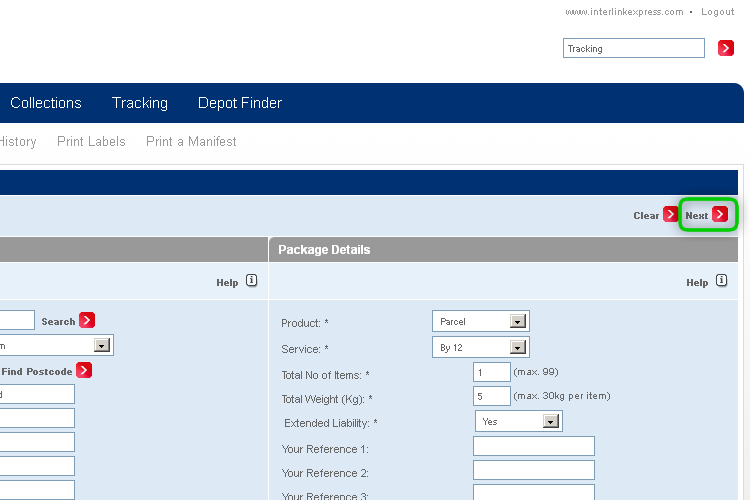
Step 4
Click Next to review your shipment details.
Step 5
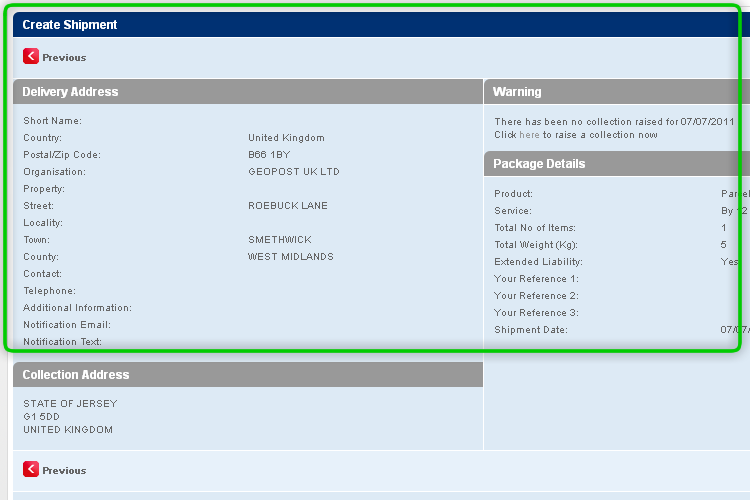
Here you can review your shipment details.
Step 6
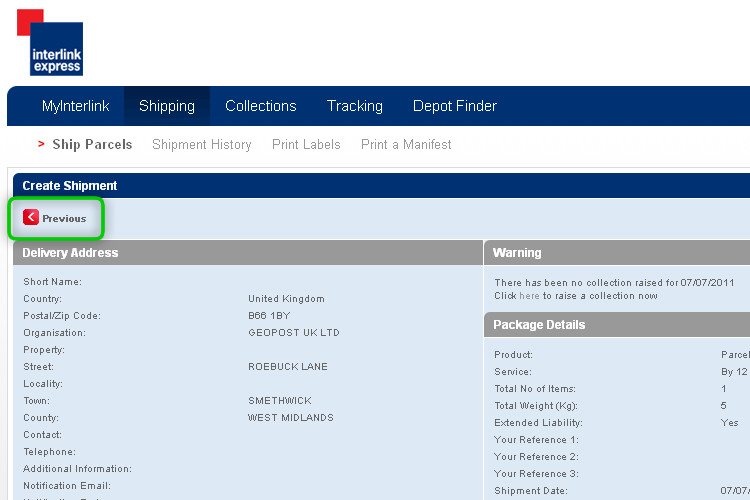
You can amend any details by clicking on Previous.
Step 7
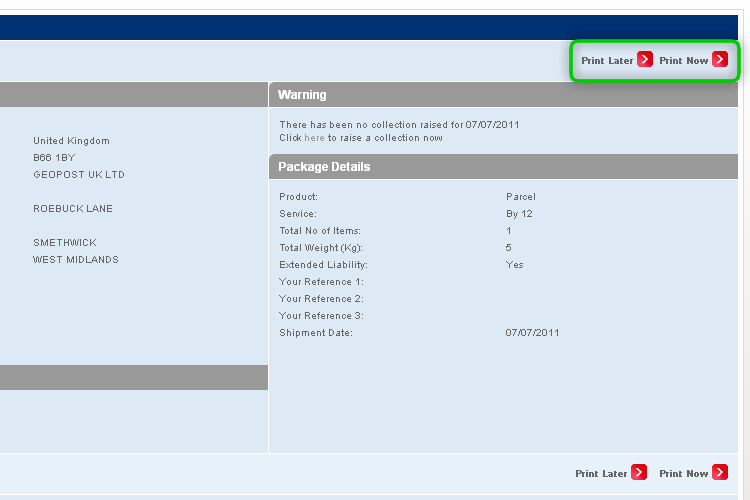
When you are happy with the details, you have the option to Print later or Print now.
Step 8
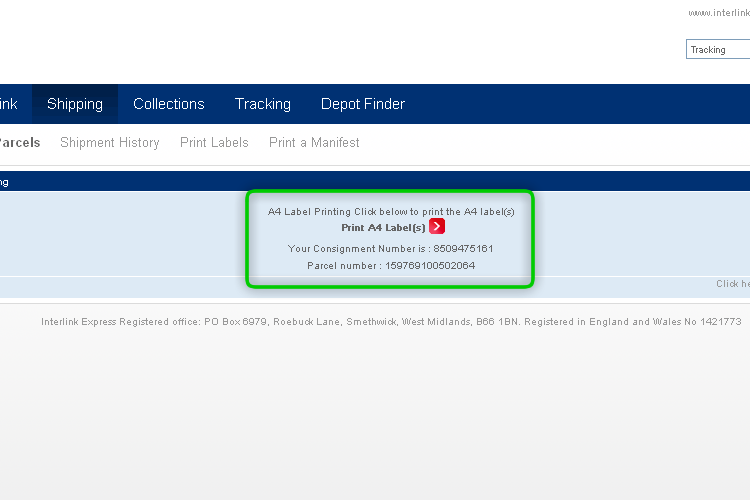
If using the Printer Later options, you will skip this step.
When you're ready to print labels click Print A4 Labels to print via your default printer.